



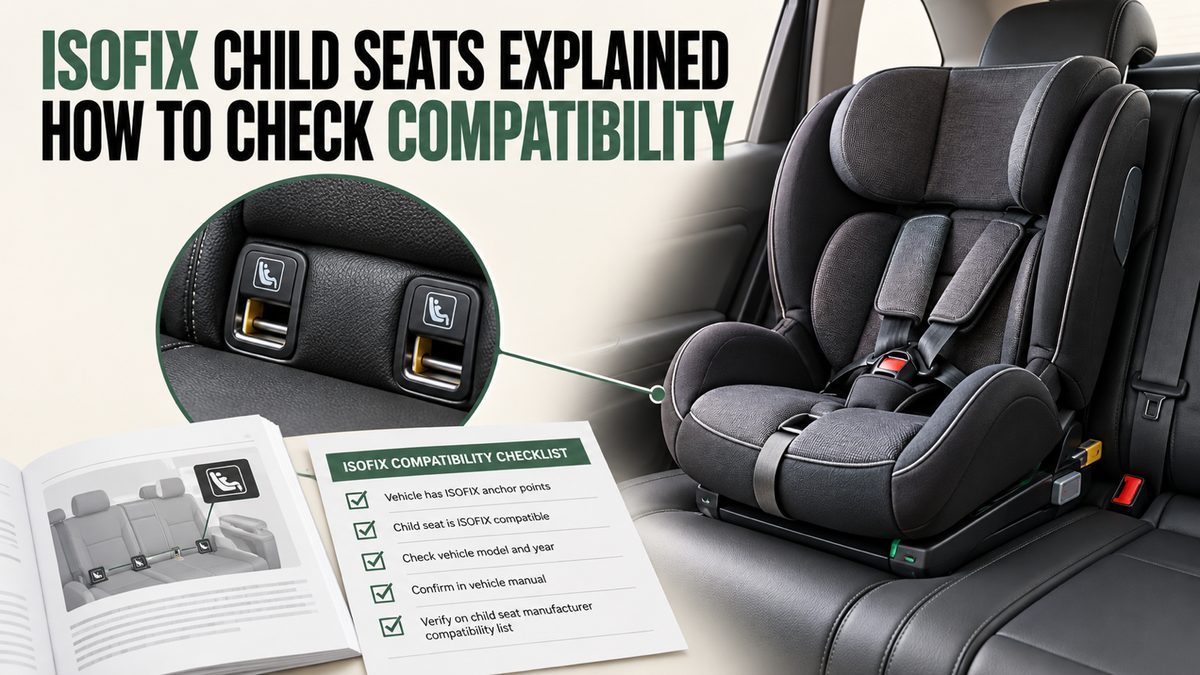
Quick answer
An ISOFIX label on a car does not mean every ISOFIX child seat fits every seating position. Check the exact restraint's instructions and approval, the vehicle manual and any manufacturer compatibility list. Confirm the child's suitability and any required top tether or support leg before buying.
Arrange a fitting demonstration in your actual car when possible. Do not improvise anchor points, omit required parts or use a seat outside its stated limits. If either manual is unclear, ask the manufacturers or a qualified child-restraint fitting professional before carrying the child.
ISOFIX describes an attachment arrangement
ISOFIX uses designated vehicle anchorage points with a compatible child-restraint attachment. The complete installation can also involve other parts specified by the seat manufacturer. The visible lower connectors are not necessarily the whole system.
Britax Römer's compatibility guidance explains that different approvals and installation arrangements exist, including ISOFIX seats using a support leg or top tether. This is why buyers should identify the exact restraint rather than treating ISOFIX as one universal product type.
For an Indian purchase, obtain the instructions for the product actually being sold and the manual for your Indian vehicle. Do not assume a video of a similar overseas model establishes an approved installation in your car.
Begin with the child rather than the car accessory
Record the child's current height and weight and consider the restraint's stated limits and orientation. Age alone is not enough to select every product. A seat advertised for several stages may have different rules at each stage.
Read the approved use ranges on the restraint and in its manual. Ask the seller to show how the harness, head support and permitted configuration relate to the child. Do not choose solely because a product looks larger or appears likely to last longer.
Avoid adding cushions, inserts or accessories not approved for that seat. Comfort and fit need to follow the manufacturer's arrangement. A household modification should not be used to make a child appear to fit a restraint outside its instructions.
Confirm the exact car and seating position
Use the vehicle's model, generation and relevant production details. Similar model names can have different seats, anchor locations or approved positions. Check the actual version rather than a general online description saying the model has ISOFIX.
Identify the seating positions the vehicle manual permits for your chosen type of restraint. Do not assume the centre rear position has lower anchors because the two outer positions do. Do not combine anchor points from neighbouring seats unless both manufacturers explicitly permit the arrangement.
Consider who else will travel. A correctly fitted restraint should not force another passenger to use an inaccessible buckle or an unsuitable seating position. Test the household's usual arrangement before committing to the product.
Use the compatibility list correctly
Where the restraint manufacturer provides a vehicle list, find the exact product and vehicle entry. Read notes about approved seats, model years and installation conditions. A similar vehicle in the list is not confirmation for yours.
A product's approval category affects what checks are required. Ask the manufacturer if the relationship between its approval, your car and the intended seating position is unclear. Do not interpret a seller's claim of universal fit as permission to ignore the manuals.
Keep the list or written confirmation with the instructions. If you move the seat to another vehicle, repeat the compatibility check. A successful fit in one family car does not automatically approve its use in a taxi or a grandparent's car.
A compatibility record to complete before payment
| Item | What to verify | Evidence to retain |
|---|---|---|
| Child | Permitted size and use stage | Restraint label and manual |
| Restraint | Exact model, base and approval | Product identity and instructions |
| Car | Model, generation and relevant year | Vehicle manual |
| Position | Approved seating location | Manual or compatibility entry |
| Lower anchors | Designated points for that position | Vehicle diagram |
| Extra support | Required tether or support leg | Both manufacturers' instructions |
| Practical fit | Access, space and normal family seating | Demonstration and resolved questions |
Do not treat a partly completed record as an approved installation. Resolve uncertainty about a required component or position before use.
Top tethers and support legs are not optional decorations
A top tether and a support leg serve the arrangement specified by the restraint manufacturer. Do not substitute one for the other or leave a required part unused because the lower connectors appear secure.
NHTSA's explanation of vehicle and restraint parts distinguishes lower anchors from tether anchors. Its guidance recommends the tether for forward-facing restraints where permitted by both manufacturers. The precise installation for a product sold in India must follow its own approved instructions.
For a support leg, check the vehicle and restraint instructions about floor suitability and any storage compartments. Do not place improvised blocks beneath it or assume a floor panel is suitable without confirmation. Ask the manufacturer when the permitted arrangement is unclear.
A luggage hook is not automatically a restraint anchor
Find the designated points using the vehicle manual and markings. A hook in the boot or a metal loop near the seat can have another purpose. Physical reach does not establish that it is an approved anchorage.
Do not attach a tether to a convenient head-restraint post, luggage point or seat frame unless the vehicle and restraint instructions expressly identify that arrangement. Follow the specified routing rather than copying a photograph of another car.
If the anchor is difficult to identify, stop and ask for help. A fitting demonstration should explain the correct point clearly enough that another caregiver can repeat the permitted procedure using the manuals.
ISOFIX and seat-belt installation need separate instructions
Some restraints permit an approved seat-belt installation; others require their specified ISOFIX arrangement. Do not assume a method is available simply because the car has belts. The restraint's instructions decide which configurations are allowed.
Do not add both lower anchors and the seat belt unless the manufacturers permit that combination for the exact configuration. More attachments are not automatically safer when they change an approved installation.
NHTSA's installation guidance stresses referring to the vehicle and restraint manuals for the securing method. Avoid importing a US-specific term, weight limit or belt-locking procedure into an Indian car without checking the actual product and vehicle instructions.
Test practical fit without bypassing safety rules
Arrange a demonstration with the exact seat, base and car. Check that the indicated settings and attachment confirmations can be achieved according to the manual. If the product uses indicators, learn what they mean rather than assuming one green mark approves every part.
Check the front seating position and passenger space with the restraint fitted. Do not solve a space problem by changing the restraint angle or direction outside its instructions. A compact car may need a different approved product rather than an improvised fit.
Ask how to remove and reinstall the restraint and how to check the child's harness or belt fit. Follow the product's method; this article is a purchasing checklist, not a substitute installation manual.
Keep airbag precautions clear
Never place a rear-facing restraint in front of an active frontal passenger airbag. NHTSA's airbag guidance highlights this risk. Use a seating position and arrangement approved by both the car and restraint manufacturers.
Do not assume that switching a dashboard setting makes any front-seat installation acceptable. Check whether the vehicle permits it and what the restraint requires. If there is uncertainty about airbag status or approval, do not use that arrangement.
Side and curtain equipment also has vehicle-specific precautions. Read them together with the child-seat instructions. More airbags do not remove the need to check the permitted position and correct restraint use.
Check product history and support
Buy from a source that supplies the correct manual, product identification and support. Check for missing parts, damage and any relevant manufacturer safety notices. Avoid a product whose identity or approval information cannot be established.
For a used restraint, obtain its history and follow the manufacturer's rules about age, damage and crash involvement. Do not assume an attractive cover proves the underlying product is suitable. If important history or components are missing, seek manufacturer advice before use.
Keep registration and purchase details where relevant so you can receive notices and obtain replacement parts through the proper channel. Do not replace safety-critical components with a generic item that merely looks similar.
Recheck as the child and household change
Review the restraint's fit and permitted stage as the child grows. Follow the manufacturer's limits rather than waiting until the child looks uncomfortable. A change of configuration may involve different belt or harness instructions.
Repeat the check when moving to another car or position. Ask every regular caregiver to learn the approved arrangement. A correct first installation does not prevent later errors when somebody removes the seat for luggage or cleaning.
After cleaning, reassemble only as instructed. Keep the manual accessible and ask for help if straps or parts no longer match its diagrams. Do not use the seat until an uncertain reassembly is resolved.
Frequently asked questions
Does ISOFIX mean any child seat will fit my car?
No. Check the exact restraint, approval, seating position and any compatibility conditions in both manuals.
Can I use the centre rear position?
Only where the vehicle and restraint permit the required installation. Do not borrow lower anchors from adjacent positions without explicit approval.
Can I leave the support leg or tether unused?
Not when it is required for the approved configuration. Follow the complete installation instructions and resolve missing or unsuitable support before use.
Should I use the seat belt and ISOFIX together?
Only if expressly permitted for the exact seat and configuration. Adding an unapproved attachment does not establish better protection.
Is a compatibility list enough without trying the seat?
Use the list and manuals, then confirm practical fit and correct installation in the actual car. A demonstration can reveal access or space issues that matter in daily use.
Confirm the fit before carrying your child
Choose an appropriate restraint, verify both manuals and arrange a fitting demonstration in your vehicle. Keep the instructions and compatibility evidence. If a required point or component remains uncertain, obtain qualified help before the child travels in that arrangement.